Replacing a CV joint (or more commonly, the entire CV axle assembly) on a Ford Taurus is a practical DIY repair that can eliminate those annoying clicking or popping noises during turns—often caused by a worn or failed outer CV joint. While individual CV joints can sometimes be rebuilt on older models, most modern Taurus owners (especially 2000+) replace the complete axle shaft assembly for reliability and ease.
“Stop the Click: DIY Ford Taurus CV Axle Replacement Guide”
This guide focuses on the front CV axle (the most common side affected), as rear ones (on AWD models) follow a similar but distinct process. Procedures vary slightly by generation:
- Older models (e.g., 2000-2007)
- Newer models (e.g., 2010-2019)
Always consult your specific year’s service manual or a model-specific video for exact torque specs and nuances. This is a moderately difficult job requiring mechanical experience, proper tools, and safety precautions.
Symptoms of a Bad CV Joint/Axle
- Clicking/popping sounds when turning (especially sharp turns)
- Grease slung around the inside of the wheel well
- Torn or cracked CV boot
- Vibration during acceleration
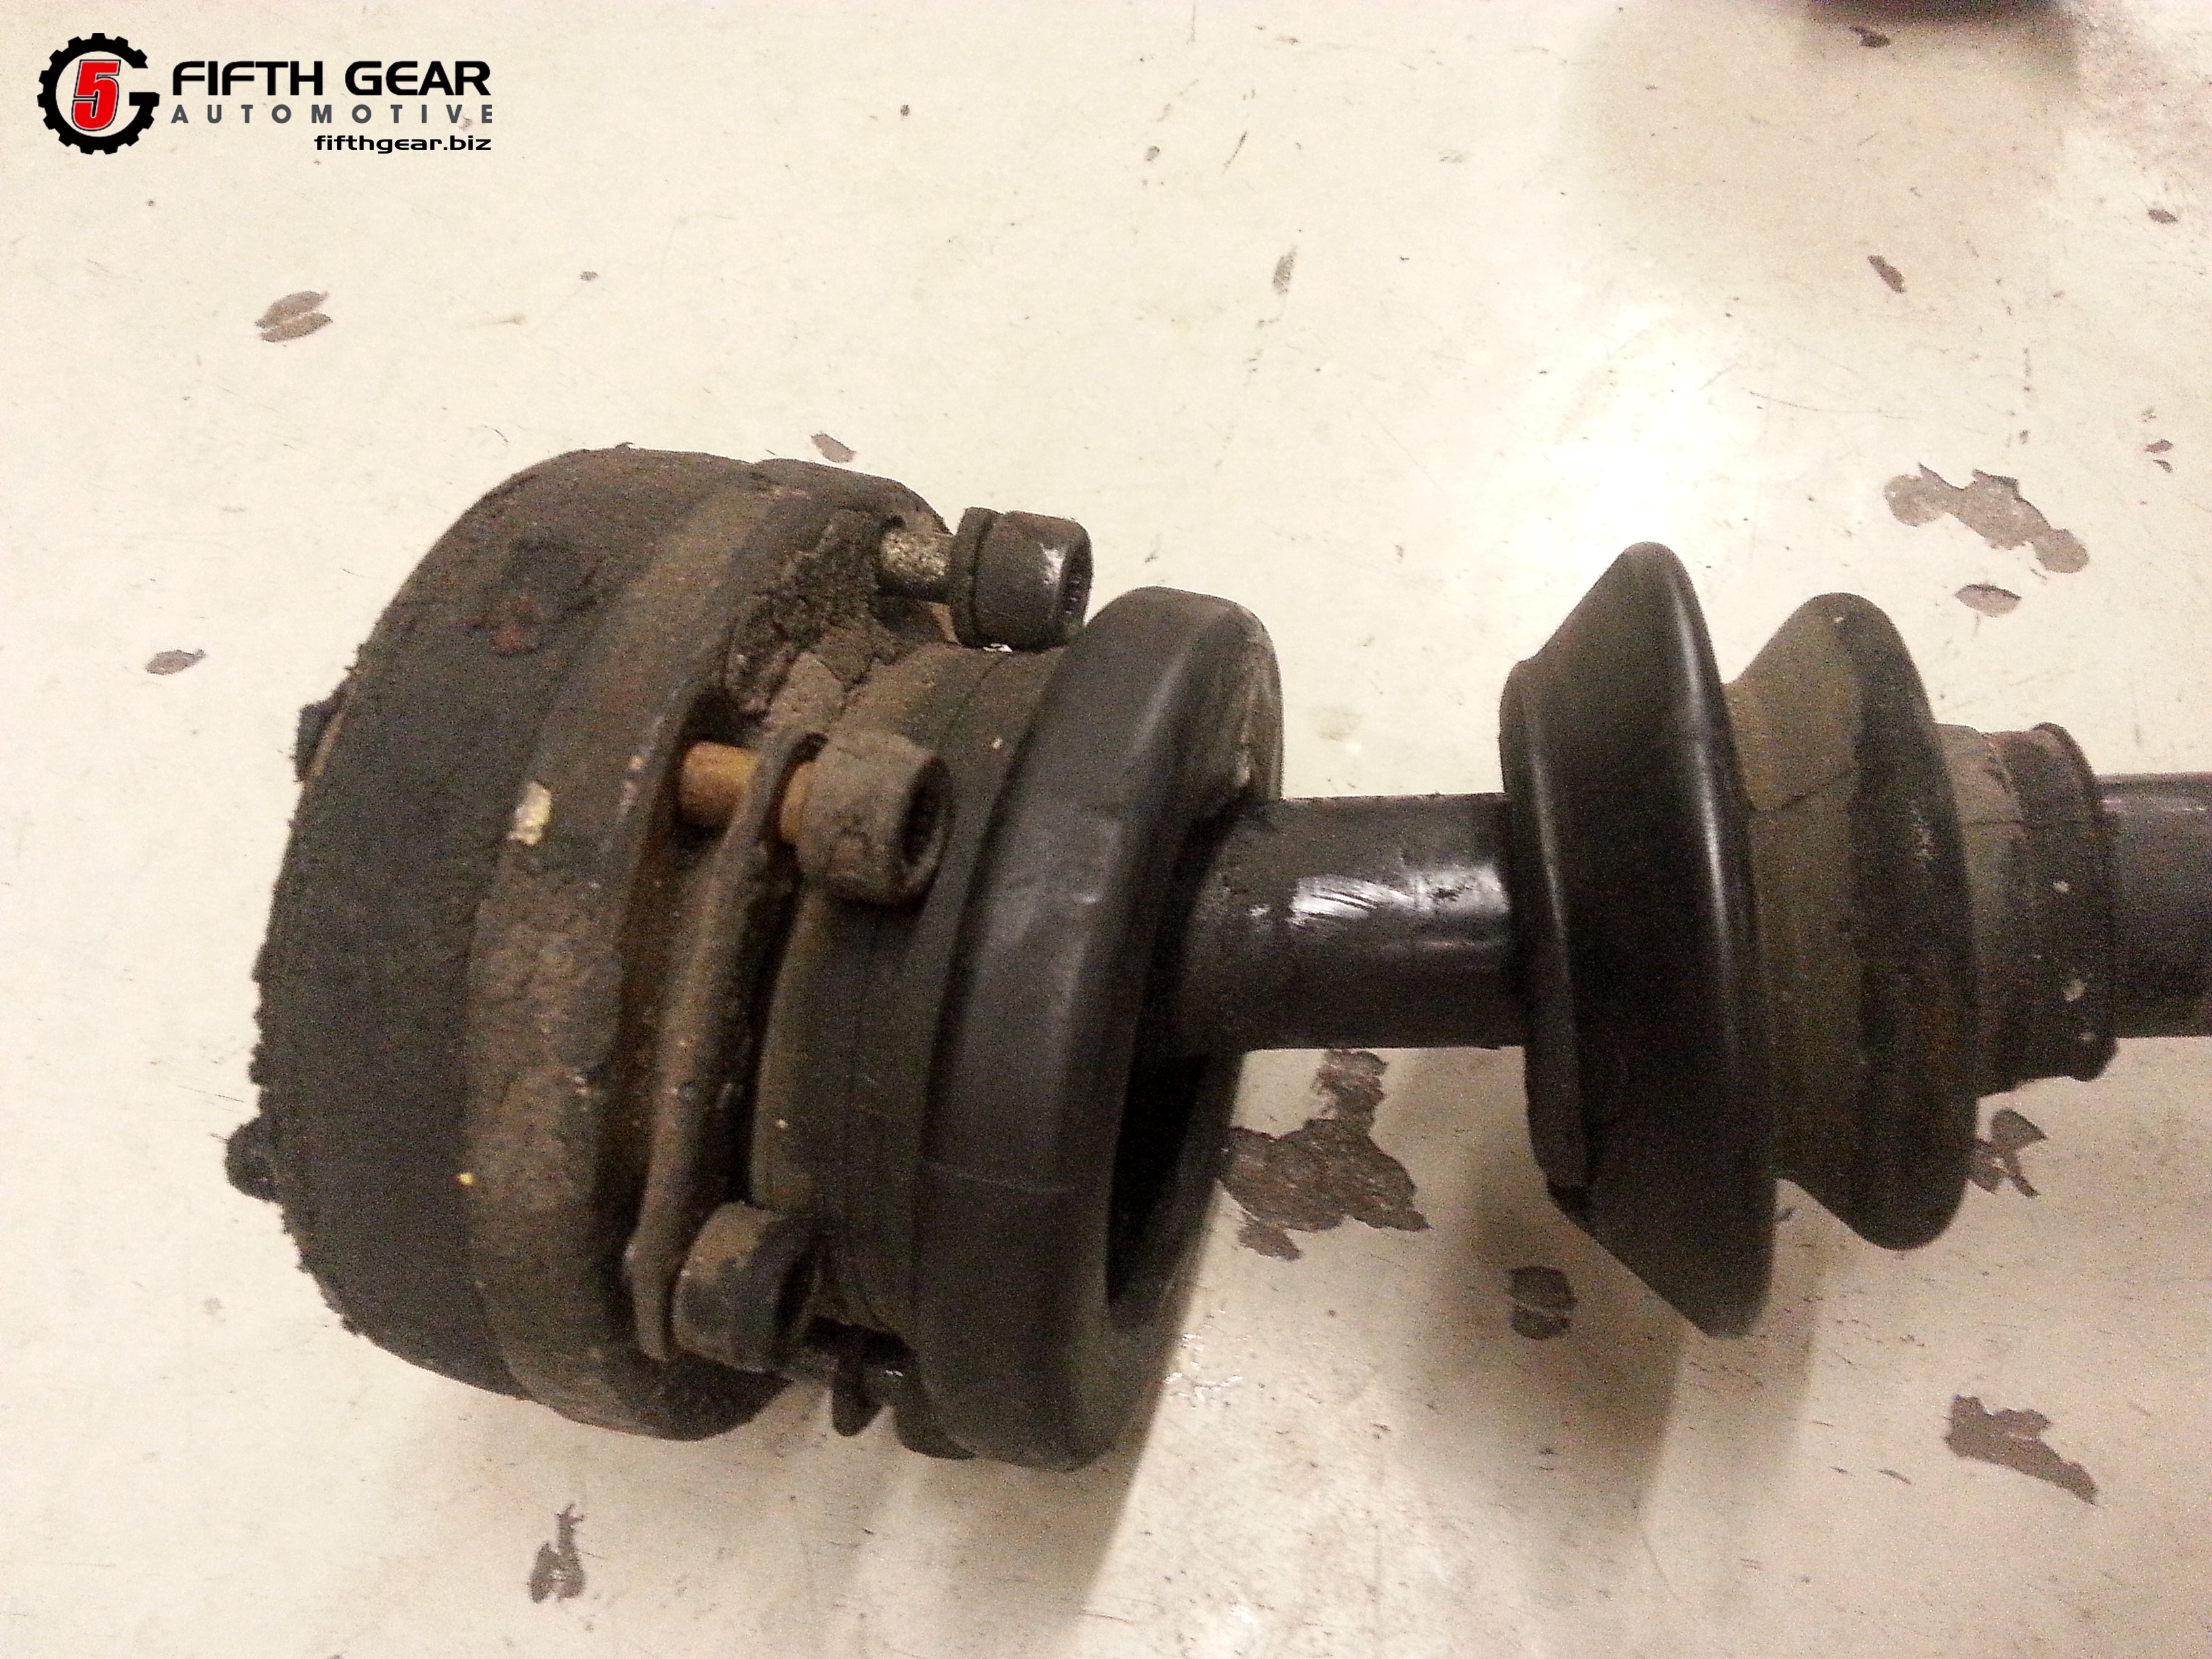
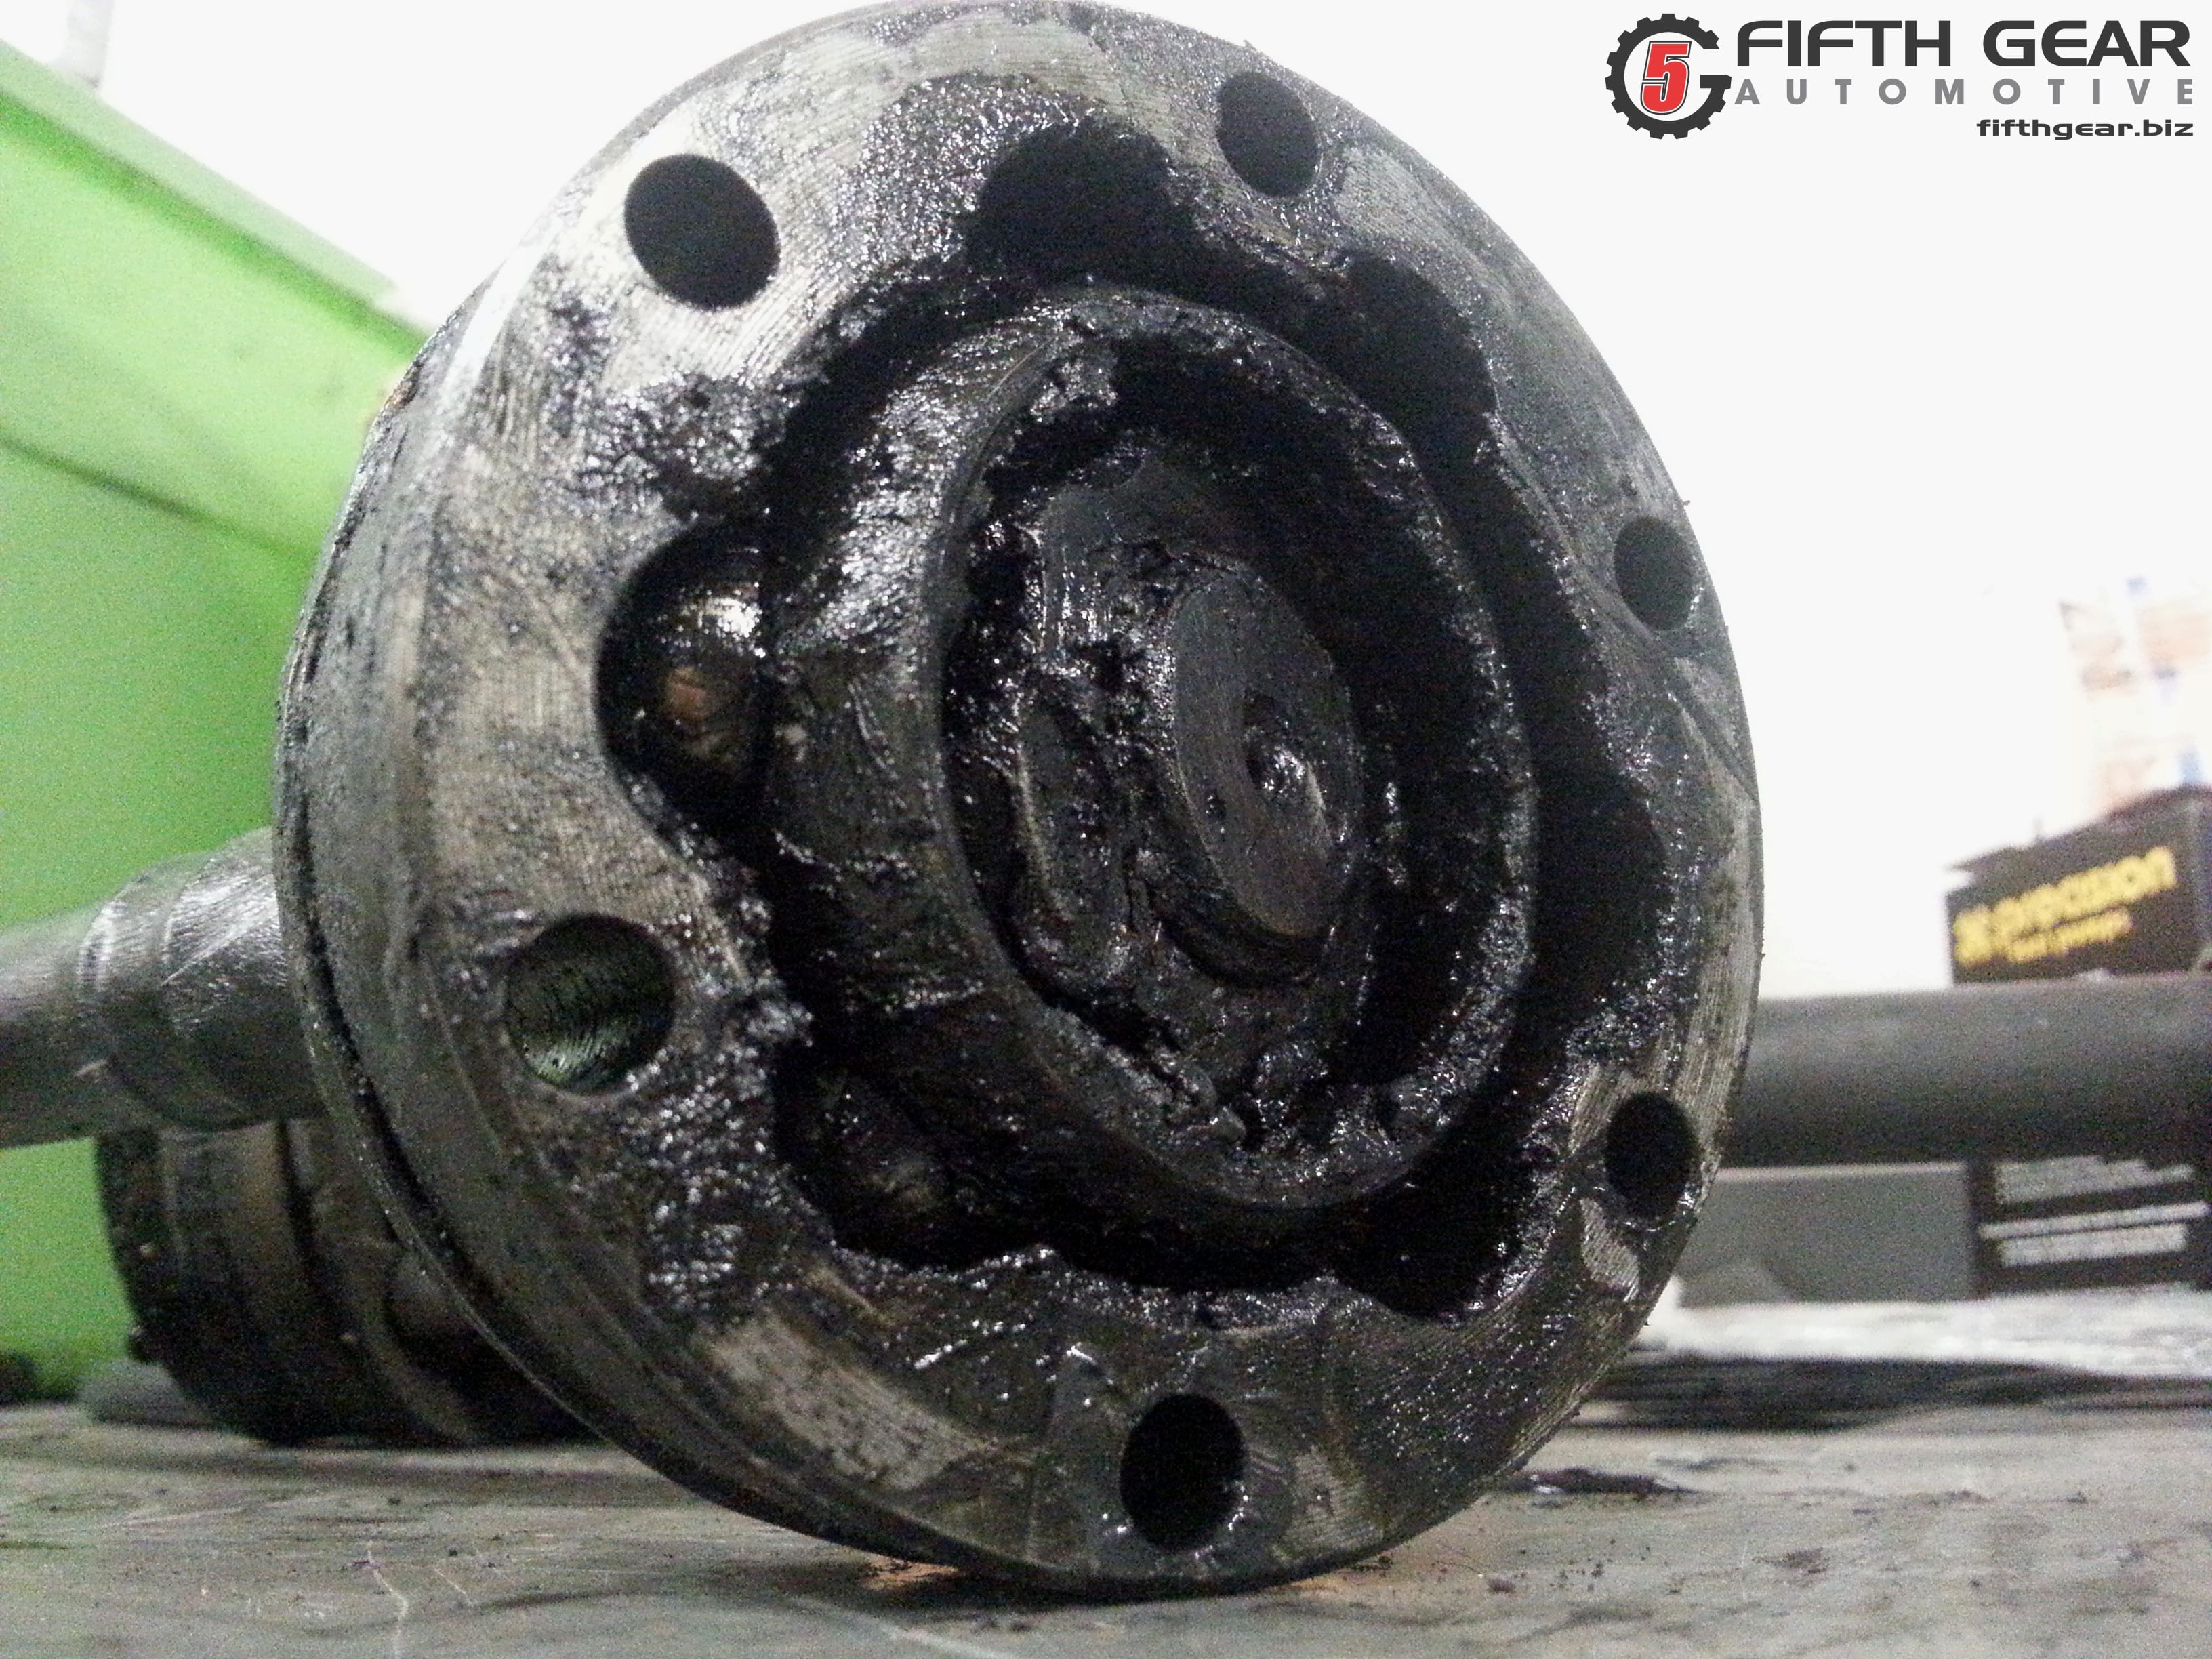
(Images above show a torn boot leading to a contaminated and failed CV joint—grease loss and dirt entry destroy it quickly.)
Tools You’ll Need
- Jack and jack stands (or lift)
- Lug wrench or impact gun
- Sockets (e.g., 19mm-24mm for axle nut—check your model; often 30-34mm on older, 24mm on newer)
- Torque wrench
- Pry bar or large screwdriver
- Hammer (dead blow preferred)
- Ball joint separator (or pickle fork)
- Pliers (for cotter pins/clips)
- Drain pan (for transmission fluid if it spills)
- New CV axle assembly (OEM or quality aftermarket recommended)

Rotunda 204-069 Ford Front Wheel Hub Remover/Installer
(Example of specialized hub/axle tools sometimes needed for stubborn hubs.)
Step-by-Step Replacement Guide (General for Most Ford Taurus Models)
- Safety first — Park on level ground, chock wheels, loosen lug nuts slightly while tires are on the ground.
- Jack up the vehicle — Lift the front end, secure on jack stands, remove the wheel.
- Remove the axle nut — Use a large socket (e.g., 32-34mm on many models) and breaker bar (or impact). Remove any cotter pin first.
- Separate the lower ball joint or strut — Depending on model: Remove pinch bolt on ball joint, separate from knuckle (use separator tool to avoid damage). On some, disconnect tie rod or sway bar link for clearance.
- Remove the old CV axle — Pry the inner end out of the transmission (use pry bar carefully—mind the seal). Tap or pull the outer end from the hub (may need hammer strikes or slide hammer if stuck). Support the axle—don’t let it hang.


(These show CV axles being handled/removed from the hub area on Taurus models.)
- Install the new CV axle — Insert the inner spline into the transmission (twist/seat until it clips). Slide the outer end into the hub. Reconnect ball joint/knuckle.
- Reinstall axle nut — Hand-tighten first, then torque to spec (often 184-221 ft-lbs—verify for your year!).
- Reassemble — Reconnect any disconnected components, reinstall wheel, torque lugs (typically 100 ft-lbs).
- Final checks — Lower vehicle, torque axle nut again if needed, top off transmission fluid if any leaked, test drive for noises.
Tips and Warnings
- Many Taurus models are FWD (front axles only); AWD versions have rear axles too.
- Replace both sides if one is bad—wear is often similar.
- A torn boot alone can sometimes be fixed with a boot kit, but full joint failure requires axle replacement.
- Time: 1-3 hours per side for experienced DIYers.
- If the axle is seized in the hub, a hub puller tool may be required.

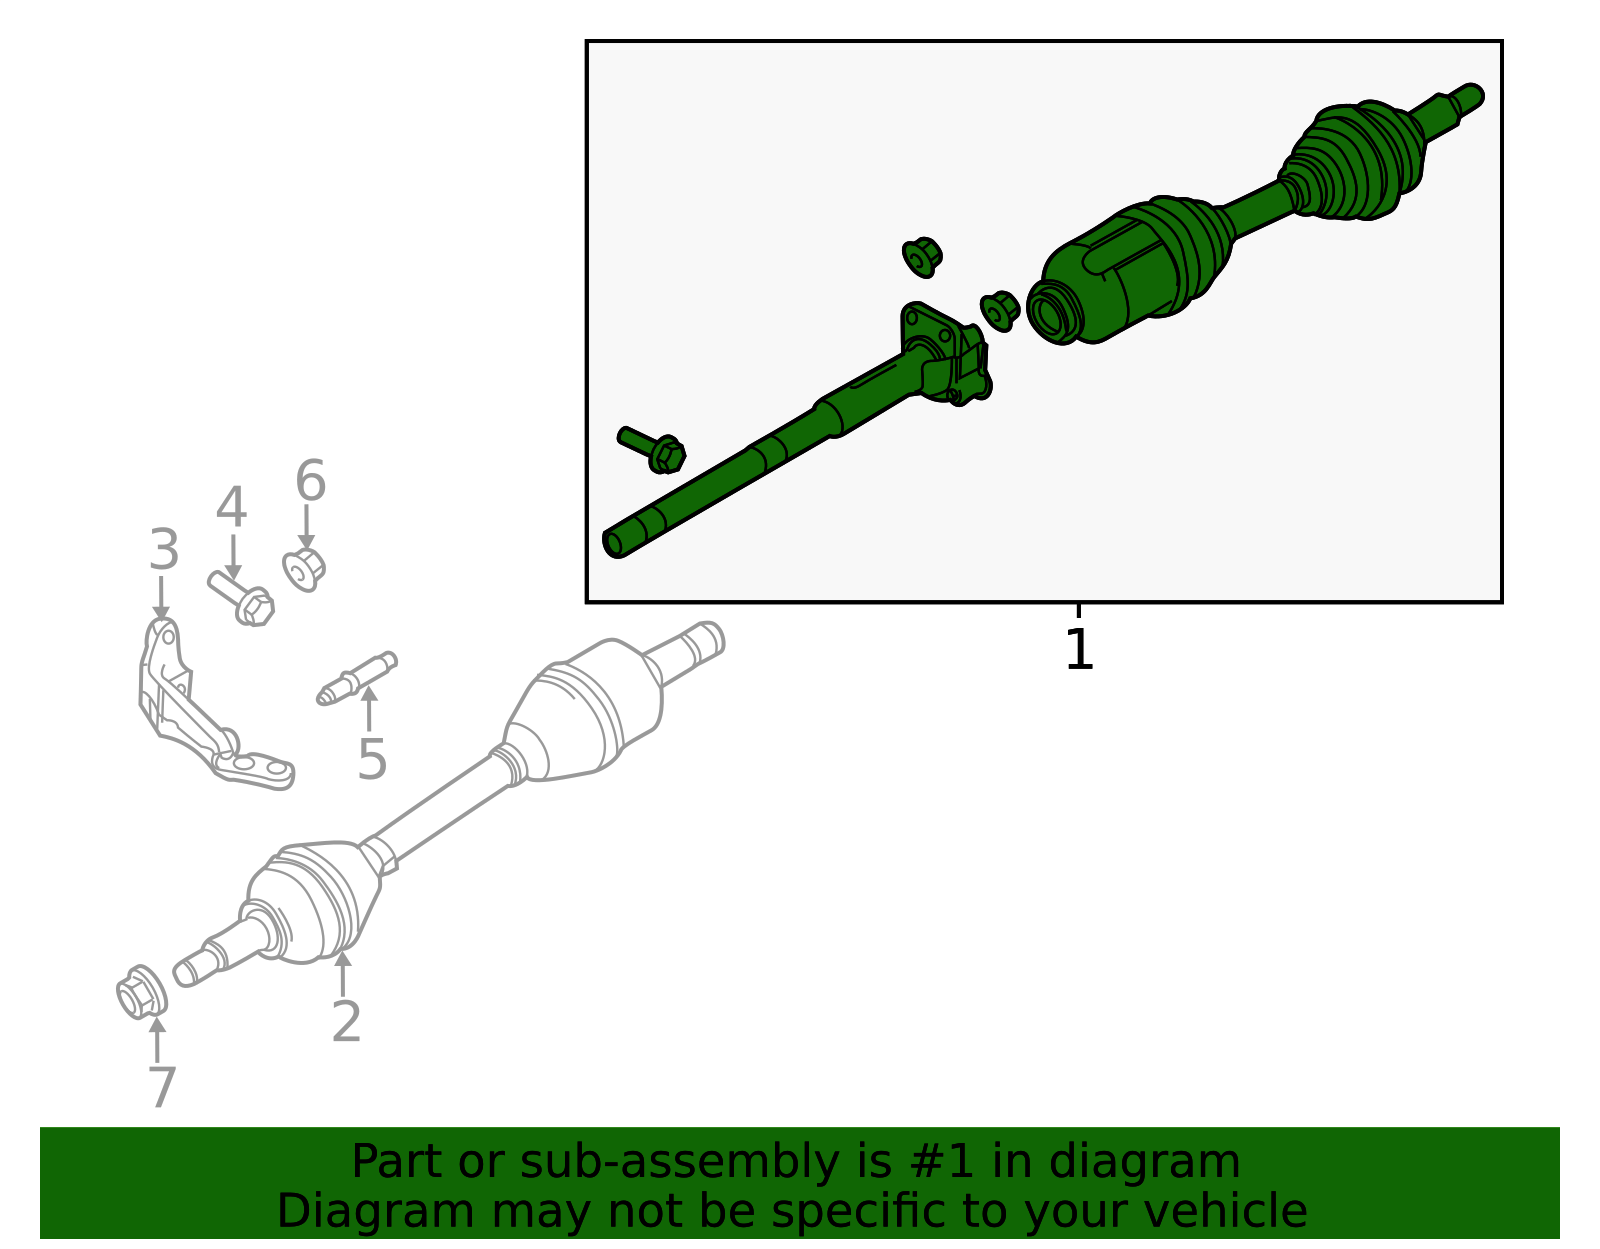
(Diagrams of Taurus CV axle components and assemblies.)
If your Taurus is a specific year (e.g., 2013 or 2005), search for a YouTube video matching your model for visuals—channels like 1A Auto or TRQ have excellent step-by-steps. Stay safe, and good luck with the repair!